Join US
Do you want to build the fantasy world you’ve always dreamed of?
Subscribe to receive notifications when a new post is out and for our monthly newsletter!
You can always unsubscribe anytime.
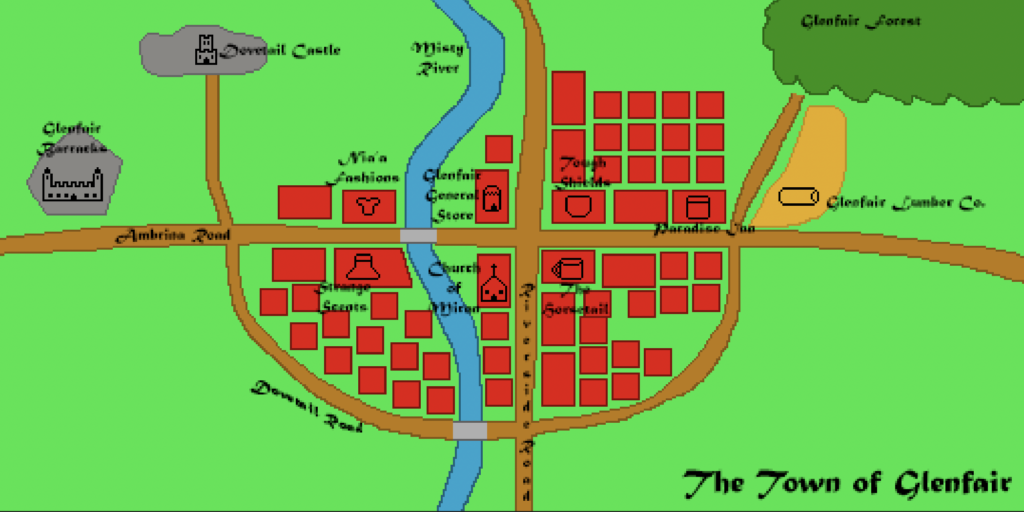

A core element of constructing a fantasy world from scratch is deciding where to put the cities. Do I place it right next to that river or forest? Location is key as you want your cities to be found in places that make sense. In many cases, they’re located in places that hold a significance to the people living there. One city might be situated near an ancestral land whereas another might be found next to the country’s largest mine, which generates a ton of revenue for everyone living there. Each fantasy city is unique to the area it’s found in.
Once you’ve decided where to put them, the real work begins. For the cities that’ll play a role in your story, you have to create a top-down map of them.
Key decisions to make include:
At first glance, you’re probably dreading the amount of work you’ll have to do. You have to come up with many names and decide what goes where. Designing a fantasy city will take time but in the end, it’ll be worth it because you’re bringing your vision to life. Your audience will love the time and effort you put into adding all these little details.
Everything has a beginning, even the greatest ideas. We’ll start with the sketching process, so let’s get our feet wet, shall we?
The first step in drawing a fantasy city is to sketch it. Using nothing but pencil and a blank sheet of paper, draw your city in a top-down perspective. This is what your city would look like if you were looking it from above. You could use Photoshop or your favorite drawing application but nothing beats doing it the old-fashioned way, especially since you’ll be making changes throughout the entire process.
A few tips to help you get started:
You don’t need to be super detailed. This is just to get the creative juices flowing. Let your imagination go wild! Don’t hold anything back!
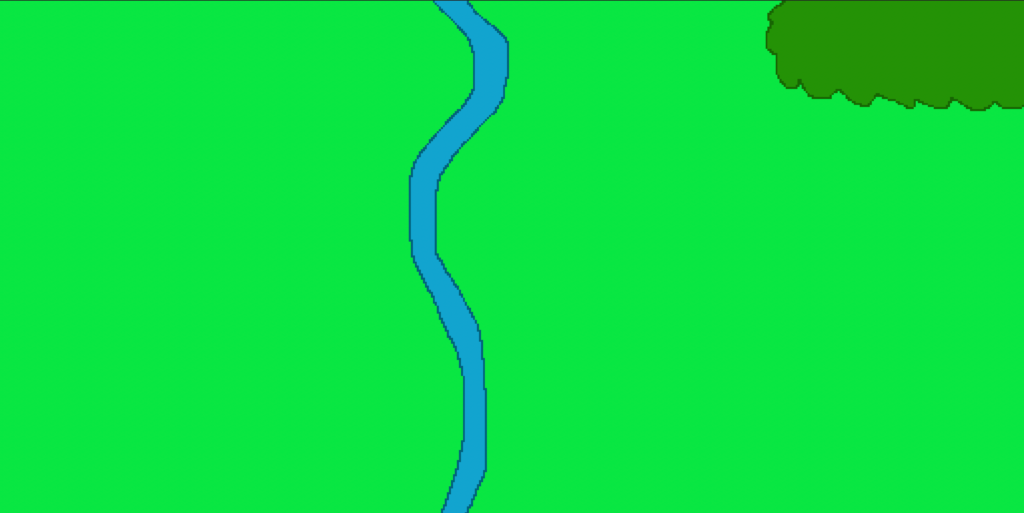
Finishing the sketching process means you’re ready to move onto the next step: taking the sketch of your fantasy city and working on it in your go-to drawing app. There are many ways to do it and it depends on how detailed you want to get. There are some mapmakers who spend many hours making their city look like something you would see on Google Maps and there are others who prefer a minimalistic approach, using simple colors on white canvas. Look around on the Internet to see what styles you like and decide what works for you.
Important: be sure to choose a style that works for the image of your world you want to convey. If you’re going for a Dark Souls-esque world, using bright, cheery colors and style would only confuse your audience when a more subdued color palette and style would fit better.
Regardless of the style and colors you choose, the process of creating a city is the same. First, you begin with the geographical features. Many cities and towns are found near them or have some within them. Doing the geographical features first gives you a great reference point to use when you’re determining where to put your roads and buildings.
For cities with a river coursing through them or just nearby, have the river meander only ever so slightly. This is because the scale of the city’s map is smaller than it would be if you were looking at a map of the country it meanders through.
If the city you’re drawing is found near a mountain, draw the approximate location of the mountain so you have an idea on how far your city would be from it. For instance, if the mountain is to the west, place it somewhere on the western half of the map and make a mental note to remember how far the distance between the two would be (or write it somewhere you’ll remember, maybe like your notebook). This will be useful when you do the legend for your map later where you put down the distance measurement.
The same holds true for other geographical features such as plateaus, streams, hills, and oceans.
Additionally, you can include places of interest like forests and swampland here as well. These places also can determine the trajectory of a city’s expansion.
When you’re done, move onto the next step: building blocks.
Now comes one of the best parts of creating a fantasy city, adding roads and buildings. This is where you take what you sketched and breathe life into it.
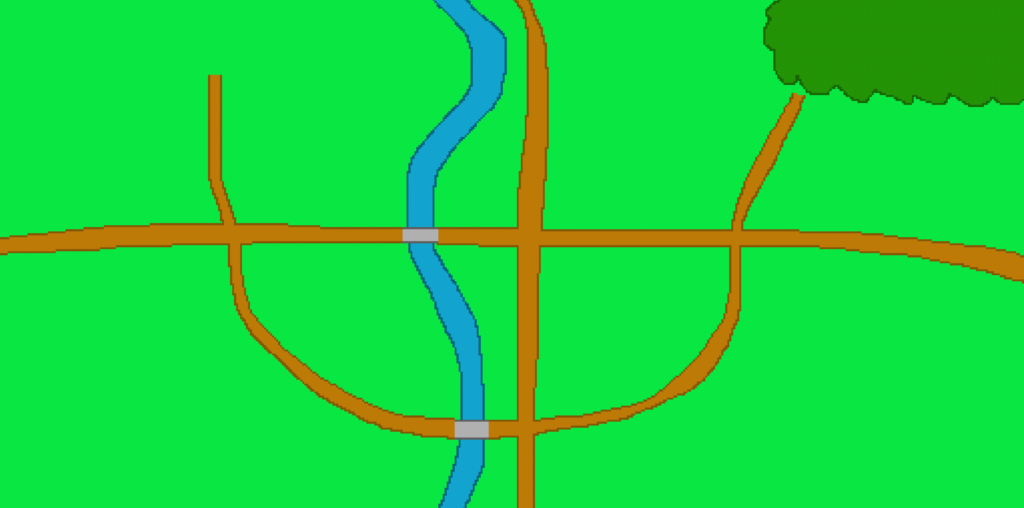
First, draw the major roads and thoroughfares. Many fantasy cities aren’t enormously large like New York City but they have several key roads that funnel both inner city and outer city traffic. A lot of cities were originally built near major intersections so they could attract the many travelers on the roads. For those that weren’t, don’t worry! In those cases, the new city spurred development of a new road that linked to one of the major roads, which in turn drew even more people to the city.
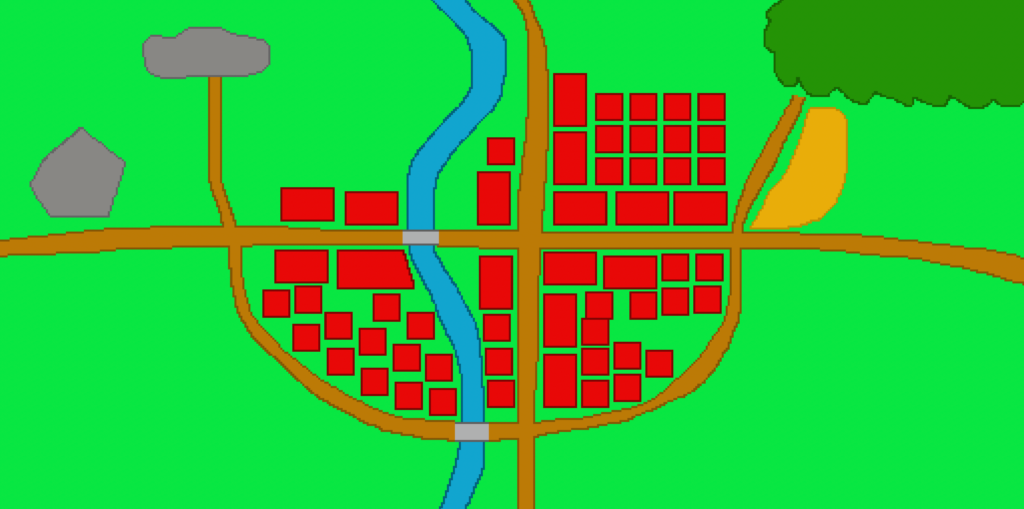
Second, with the basic shapes you drew back during the sketching phase that represented the buildings, draw one of each shape you plan to use in your drawing app. Fine-tune it until you’re satisfied with it. The basic shapes are meant to represent residences and businesses that while they’re part of your world, they don’t play a great role in your story. Besides, you don’t want to name every one of them. Too many names will only clutter the map.
Third, add some color to the inside. If you like, you can add some shadows to give off that three-dimensional look. Move it to where you want it. Next, copy it and paste it and then put it right next to the first one. Repeat the process until you have a row and then copy said row and past it either in front or back of the first row. Bonus tip: rows of buildings are seldom perfectly neat; there’s always slight variations and having deviations adds an extra touch to your city.
For important buildings like castles, use the unique shapes you drew back in the sketching process and give them a different color to help them stand out. A darker version of the color you used for the basic shapes can also work here. These buildings play an important role in not just the world, but your story. Give them an icon to make them easier to see. As such, they need to stand out so your audience knows where they’re located and how far they are from each other.
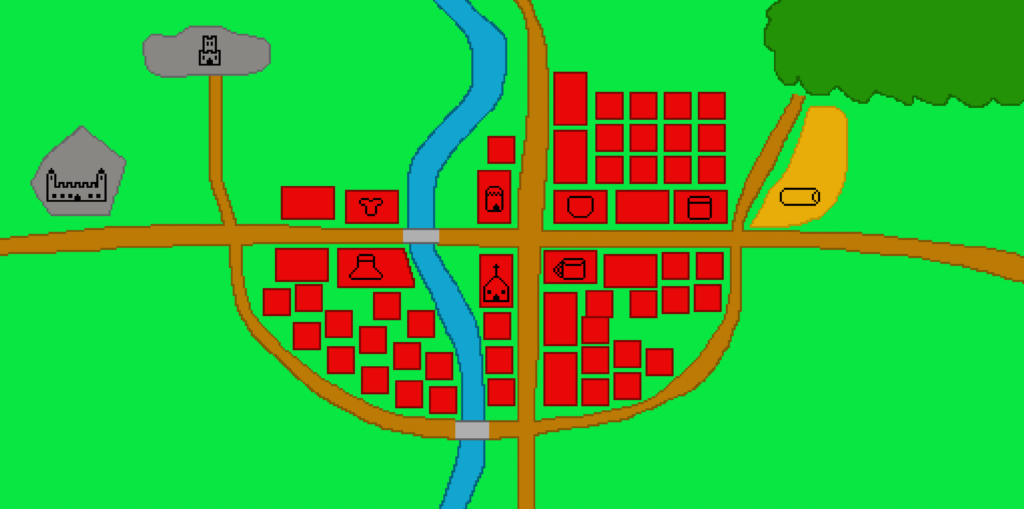
The final step is to name them. Name only the things you want your audience to see. Major roads and other thoroughfares, significant structures like fortresses and key businesses such as inns fall in this category. Geographical features like rivers and places of interests like deserts apply here too. The goal here is to make a map of your city that’s easy on the eyes and isn’t cluttered with information that means nothing to the viewer.
If you’re having trouble coming up with names, a helpful tip is to think about your city when it was founded and its history. Many cities today have roads and buildings that honor renowned people throughout their history as well as those who founded them. They also attach great importance to the city’s culture. For example, if a city is next to the ocean, many of its roads and buildings might be named after sailors or ships or water deities.
Naming them all helps you and your audience see what’s important and what’s not. They also serve as a reference point when you need to figure out the distance between one and another.

Designing a fantasy city from scratch will take up a fair bit of time, depending on how detailed you want to get and through your labor of love, you’ll have created a map of your city that not only looks amazing but invites your audience to want to learn more about your city and your world.
Every journey begins with the first step and that is to sketch out the map so you can smoothen the kinks and work on adjusting it until you’re ready to add a touch of creativity to it. Working on it in your drawing application takes what you drew on a blank sheet of paper and turns it into something that while it’s fantasy, feels real. Adding names only takes it to the next level.
Let me know what you think in the comments below. (Note: this is an account-exclusive feature).
If you don’t have one, you can register here. It only takes a few moments of your time!
Liked this article and want to subscribe? All you have to do is fill out the form below and that’s it!
Thanks for reading this and until the next time,
Sunfire
Subscribing means you receive:
You can always unsubscribe anytime.
Do you want to build the fantasy world you’ve always dreamed of?
Subscribe to receive notifications when a new post is out and for our monthly newsletter!
You can always unsubscribe anytime.